Image to 3D: from an idea to a downloadable model
imagineGo Image to 3D converts a reference image into a downloadable three-dimensional model. Use a character concept, an isolated prop or a product illustration as the starting point, choose an output format, and submit the task. GLB results can be rotated directly in your browser so you can assess their shape before continuing in another application. The output is a model file, not simply a flat image with a three-dimensional appearance. This makes the tool useful when you want to move from a visual direction toward a model you can examine from several angles.
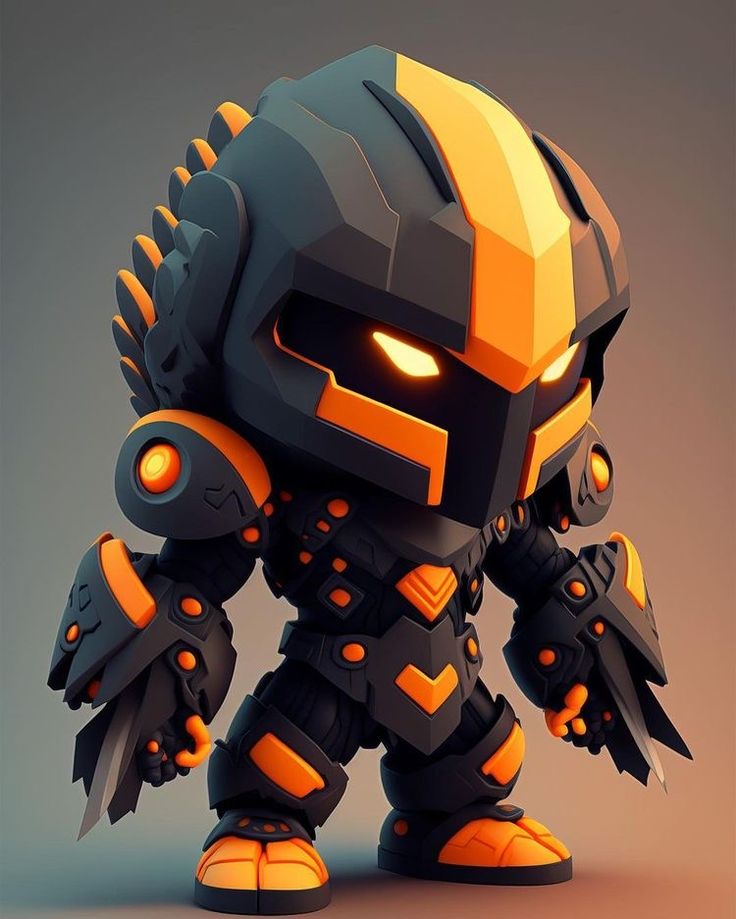
Image to 3D example
Published demonstration asset, not a live generation from this session. Results vary with inputs and settings.
How to use Image to 3D
- 01
Prepare a clear reference
Upload one PNG, JPG or WebP image up to 10 MB. Start with a complete subject, readable edges and a simple background. Avoid cropped limbs, several overlapping objects or a busy composition that makes the intended subject ambiguous. A clearer reference makes it easier to assess what the result has preserved.
- 02
Select a format and generate
Choose GLB, OBJ, STL or PLY for your next step. GLB is a practical first choice because you can inspect it on the page. Sign in, check the points shown on the button, and submit the image. Follow the displayed processing state while the model is being generated.
- 03
Review the shape and download
For GLB, rotate the result and inspect the sides, back and underside rather than judging only the front view. Download the file when ready. Other output formats can be reviewed in compatible software. Your generation history helps you find previous results again when comparing different attempts.
Where Image to 3D fits your workflow
Image to 3D is useful for early visual development. Game artists can turn a prop or character reference into a draft for discussing silhouette. Product designers can explore the volume suggested by an exterior image. Educators and individual creators can compare a flat reference with an inferred three-dimensional form. A supplied image gives concrete appearance cues when a written description would leave too much unspecified. Treat the result as an asset to review and refine before using it in a finished product presentation, animation or interactive scene; it is not a substitute for checking the requirements of that destination.
Tips for better Image to 3D results
Keep the subject centered and fully visible, with even lighting and space around its outline. Strong shadows, reflective surfaces, transparent parts and complicated openings can make the geometry harder to interpret. A single image cannot show the real back of an object: unseen surfaces must be inferred, so this workflow should not be treated as a precision scan or a measurement tool. If a result has the wrong outline, improve the crop or separate the subject from its background before trying again. Change one input issue at a time so you can tell which adjustment helped.
Choosing a Image to 3D export format
| Format | When to choose it |
|---|---|
| GLB | Choose GLB when your next step is viewing the model on the web. The built-in viewer lets you rotate the result and inspect its silhouette from different angles before downloading. This is a useful starting point when you want to review a shape without first opening a desktop editor. |
| OBJ | Choose OBJ for a mesh workflow in an editor that supports this format. Check scale, materials and any textures after importing. File-format support alone does not guarantee that every application will display the result identically, so test the asset in the software you actually plan to use. |
| STL | Choose STL for a geometry-focused workflow. Before attempting 3D printing, check whether the mesh is closed, whether walls are thick enough, and whether scale and supports are appropriate. A successful export is not a printability check, and the generated file may need repairs before slicing. |
| PLY | Choose PLY when your mesh viewer or processing tool supports it. Inspect the imported geometry and available attributes before continuing. Pick a format around the requirements of your next tool, rather than assuming that changing the extension will add detail or improve the generated shape. |
Image to 3D questions answered
Can I use photographs and illustrations?
Both can be uploaded when they use a supported file format. Start with a subject whose structure is easy to read. Image style, occlusion and detail complexity influence the outcome, and the tool does not promise a pixel-perfect or part-for-part reconstruction. Review small features separately from the overall silhouette.
Can one image recover the back or an engineering-ready object?
Not reliably. The image does not supply hidden surfaces or accurate dimensions. Use the generated model for visual concepts and as a modeling starting point. Work that depends on fit, measured scale or assembly tolerances needs real measurements and further professional modeling and validation.
Do I need an account and points?
You can read this guide and explore the demonstration without creating a generation task. Uploading and generating require sign-in. The generate button shows the current points required, so check it and your balance before submitting. Processing time varies with the task; the page displays its status rather than promising a fixed completion time.
Will the model need further editing?
Review scale, hidden surfaces, topology and materials for your intended use. Animation may require retopology and rigging; printing may require mesh repair. Use inputs that you own or are authorized to use, and check the relevant rights before commercial publication. Generation by itself does not establish permission to use a protected design.
Explore tools related to Image to 3D
Choose Image to 3D when you already have a visual reference, or Text to 3D when you are still exploring an idea. Both workflows provide a starting model that you can inspect and take into the next stage of your creative process.