
Roblox Skin to Minecraft Skin Converter
Turn your Roblox avatar screenshot into a Minecraft skin. Edit the character preview, inspect it in 3D, and download a 64×64 PNG.
Roblox Skin to Minecraft Skin Converter
- 1Character preview
- 2Edit previewOptional
- 3Generate game skin
PNG, JPG, WebP up to 10MB
CostCharacter preview: 6 credits

Your generated skin and 3D preview will appear here.
64 × 64 PNG · Classic (Steve)ImagineGo’s Roblox Skin to Minecraft Skin Converter turns an uploaded avatar image into a downloadable Minecraft skin. Create front and back character views, optionally edit the design, then generate a 64×64 PNG and inspect the actual skin in 3D. The original output uses Classic/Steve arms; the skin editor lets you refine pixels and adapt the arm model.
Roblox Skin to Minecraft Skin Converter: See a Real Conversion
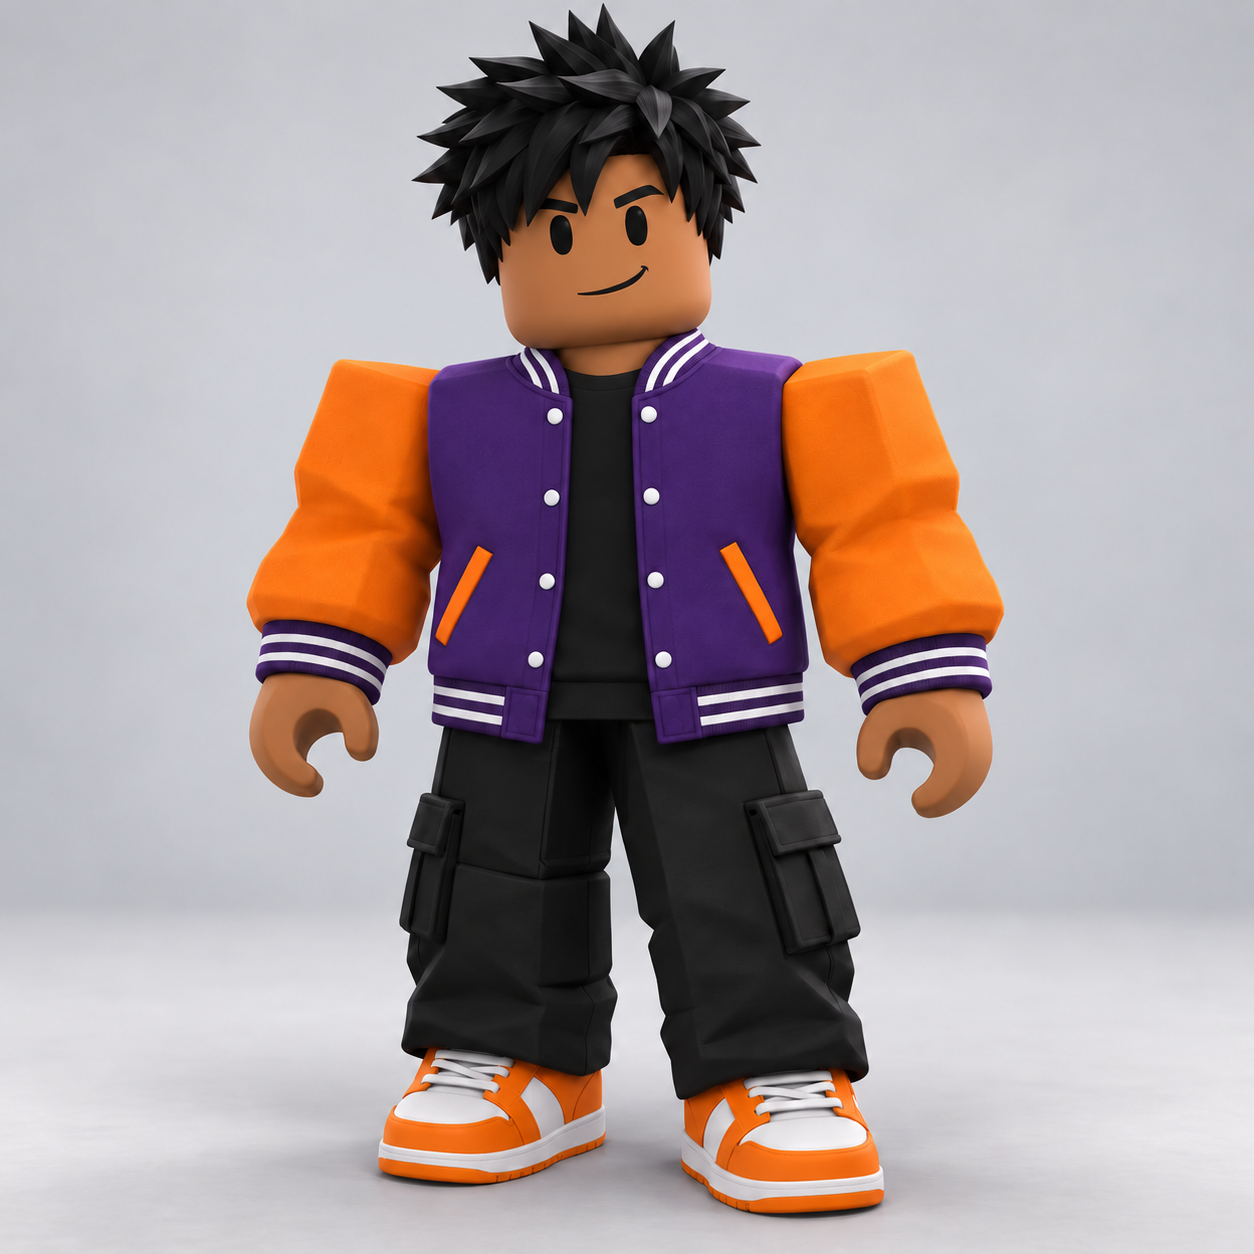
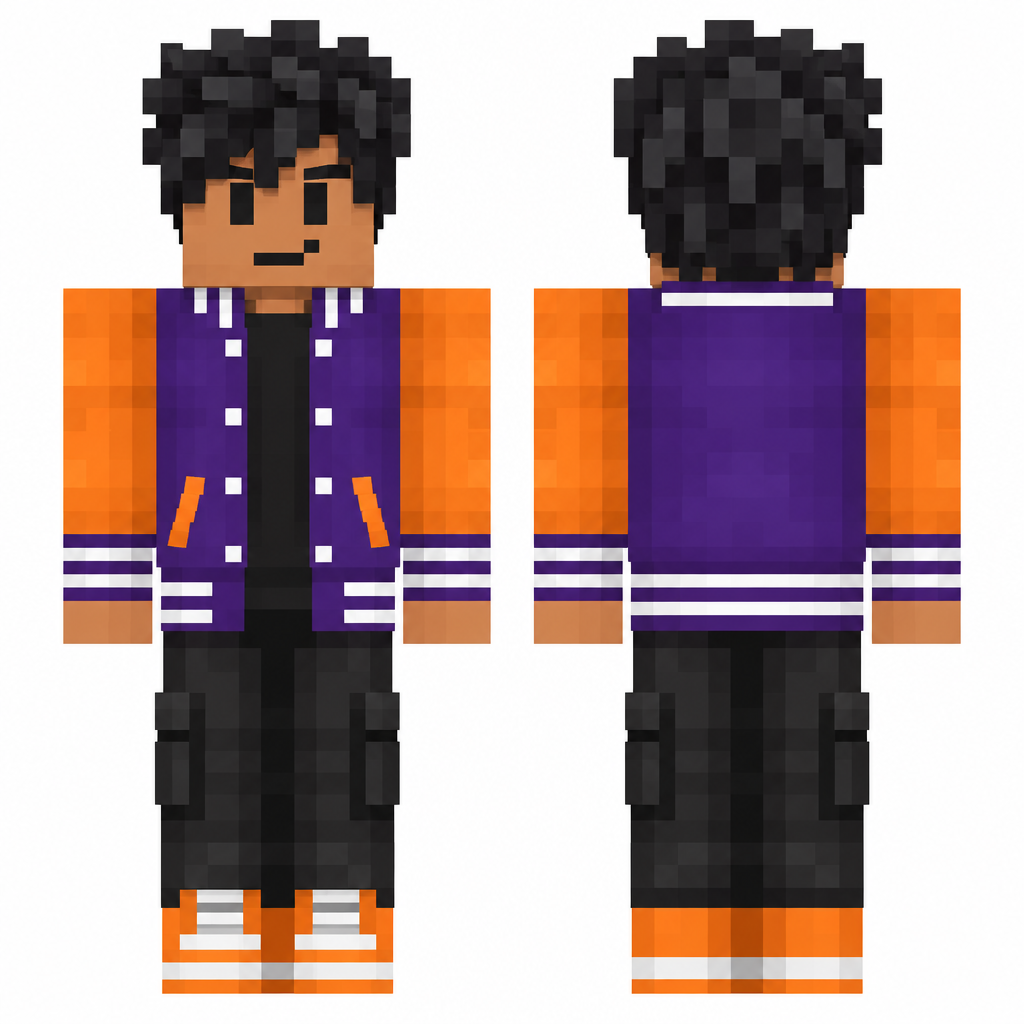
This published example starts with a Roblox-style avatar in a purple varsity jacket, orange sleeves, black cargo trousers, and orange-and-white shoes. Compare the reference with the generated front and back views, then rotate the finished skin. The broad clothing colors and white trim remain recognizable, while the hairstyle and pocket details become simpler pixel patterns. You can download the sample PNG to inspect the same texture shown in the 3D viewer. The character preview is the design reference; the unfolded 64×64 file is the skin you import into Minecraft.
How to Use the Roblox Skin to Minecraft Skin Converter
- 01
Create your character preview
Upload one clear screenshot of your dressed Roblox avatar. Include the hair, face, torso, arms, and shoes, and crop away menus or other characters. PNG, JPG, and WebP images up to 10 MB are supported. Add optional instructions for signature colors or outfit details, then create the front and back Minecraft character preview.
- 02
Edit the preview, if you want
Check the face, hairstyle, jacket, trousers, and back view before making the skin. If something needs changing, describe the adjustment: keep the purple jacket, make both sleeves orange, or remove a large accessory. Preview editing is optional. When you like the design, continue directly to the final step. Your saved preview stays available when you return.
- 03
Generate and download the skin
Turn the approved preview into a Minecraft skin texture. Use the 3D viewer to check its front, back, and sides, then download the 64×64 PNG. Choose the original Classic/Steve model when importing it, or open the skin editor to paint details and adapt the arms before exporting your final version.
Roblox Skin to Minecraft Skin Converter: Keep Your Signature Look
Carry your favorite Roblox outfit into a different game without drawing every skin pixel from scratch. The AI uses the assembled character image to interpret hair, facial features, clothing colors, and shoes together. A varsity jacket, pastel hoodie, monochrome outfit, or colorful streetwear look provides a clear visual starting point. Describe the details that identify your avatar, such as contrasting sleeves or a specific hair color. The aim is a recognizable Minecraft version of your character, with a readable design that fits a smaller texture. It does not transfer your Roblox inventory, purchases, or character mesh.
Convert my Roblox avatar ↗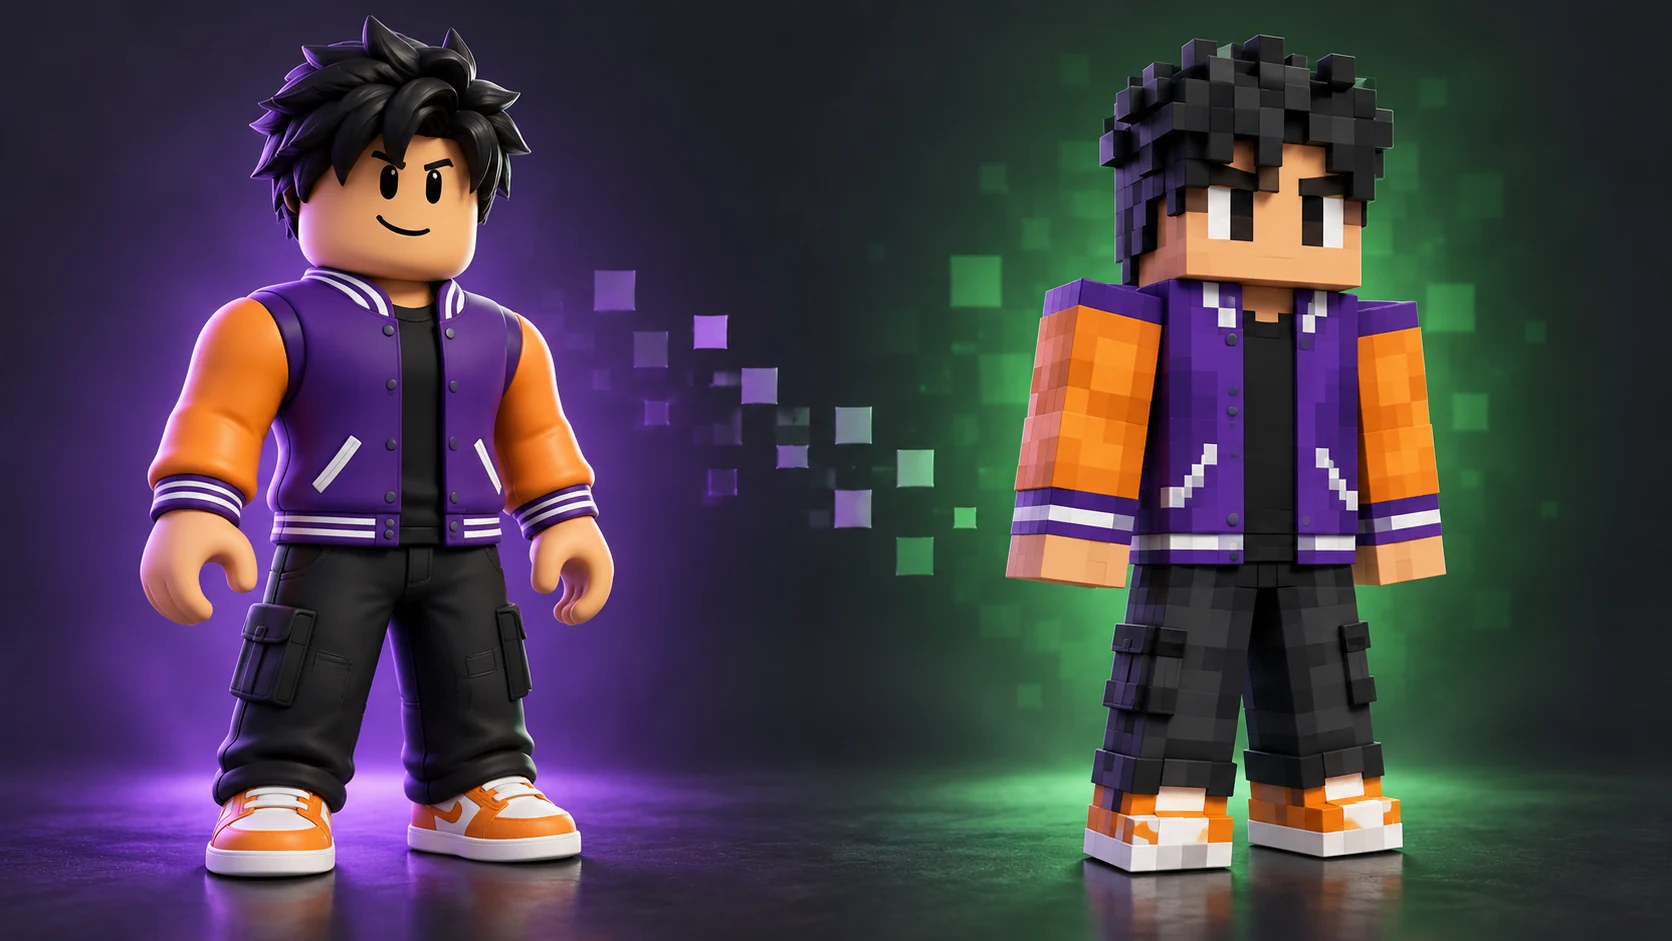
Roblox Skin to Minecraft Skin Converter: Review Before the Final Skin
The character preview separates design decisions from skin generation. You can check whether the outfit looks right, adjust a color, or describe the unseen back before converting the result into a texture. The tool generates both front and back views from your uploaded image; details hidden in the reference are interpreted by the AI. A short instruction like “plain purple back with white hem trim” gives that interpretation a useful direction. When the preview is ready, keep it and continue later. There is no need to reupload the avatar or recreate the first step just because you left the page.
Convert my Roblox avatar ↗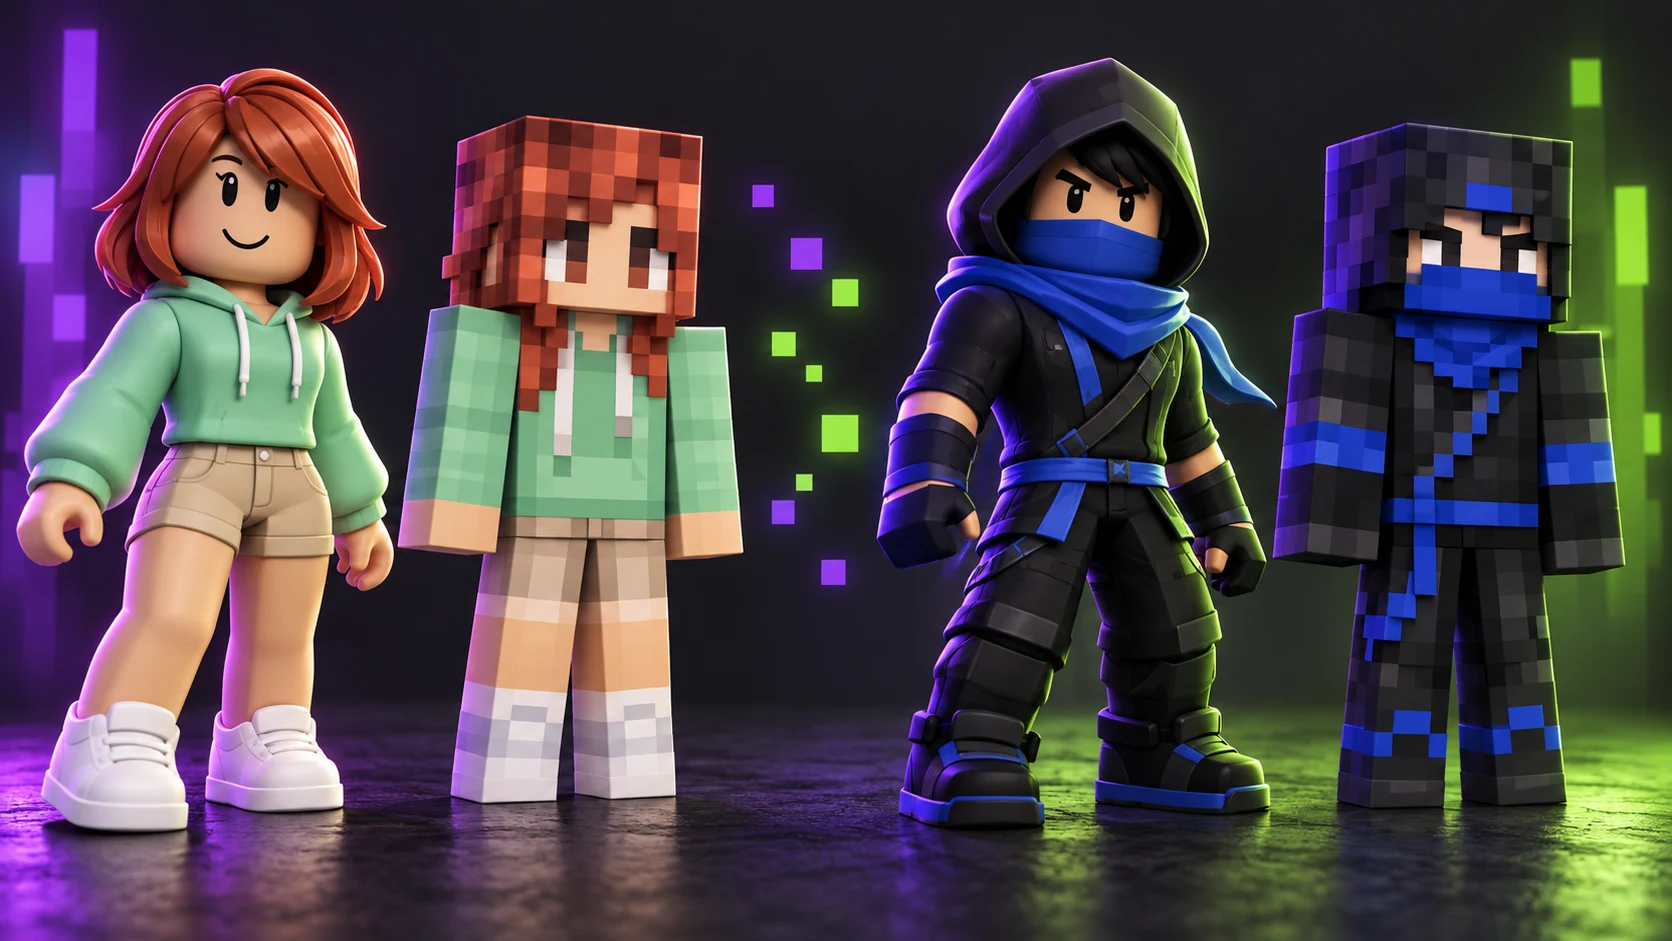
Roblox Skin to Minecraft Skin Converter: A Skin File You Can Edit
Your final download is an unwrapped Minecraft skin PNG, with mapped regions for the head, torso, arms, and legs. The live 3D preview wraps that texture onto the player model so you can spot sleeve seams, hair edges, or shoe colors before using it. For small changes, open ImagineGo’s Minecraft Skin Editor and paint directly on the skin. Manual editing and PNG export are free. You can also switch between wide Classic/Steve arms and slim Alex arms. Inspect the shoulders, cuffs, and side pixels after changing the arm model, then choose the matching model when you import the edited file.
Convert my Roblox avatar ↗Roblox Skin to Minecraft Skin Converter: Better Inputs and In-Game Use
A full-body, front-facing avatar screenshot is the most useful starting point. Use a neutral pose with visible arms and an uncluttered background. Keep enough detail to distinguish the face, hair, and clothing; do not resize the reference down to the final skin dimensions. Crop out chat messages, usernames, or private information that you do not want to upload. This is an online AI workflow, so use an image you own or have permission to edit.
Prioritize the few features that make your avatar recognizable. Large color areas, jacket trim, a strong hair silhouette, and contrasting shoes usually translate more clearly than tiny lettering or dense accessories. Oversized wings, floating pets, tails, and unusual body proportions cannot become separate 3D geometry in a standard skin PNG. Describe a simplified clothing or color treatment for those details, and inspect the result from all sides.
For Minecraft Java Edition, open the Launcher, choose Minecraft: Java Edition, then Skins → New Skin. Browse for the downloaded PNG, select Classic/Wide for the original output, and choose Save & Use. If you changed the skin to Slim in the editor, select the corresponding arm model instead.
For Bedrock on Windows or mobile, use the Dressing Room’s Classic Skin import options. Official custom PNG importing is unavailable on Xbox, PlayStation, and Nintendo Switch. Keep the exported PNG at its original dimensions, and import the skin texture rather than the character preview or a screenshot of the 3D viewer.
Roblox Skin to Minecraft Skin Converter: Frequently Asked Questions
Can I turn a Roblox avatar into a Minecraft skin automatically?
Yes. Upload an image of your Roblox avatar to ImagineGo, generate its front and back character preview, and convert the approved design into a 64×64 Minecraft skin PNG. You can optionally edit the preview and inspect the final skin in 3D before downloading.
Is the download a playable skin or just a character picture?
The final download is a mapped 64×64 PNG skin texture. It has separate regions for the character’s body parts and can be imported through supported Minecraft custom-skin workflows. Download the skin file from the final step; the front and back preview image is the design reference.
Can I convert a Roblox username or shirt template?
This converter accepts an uploaded avatar image, not a username, account link, or clothing asset ID. Use a screenshot of the fully dressed character. Roblox shirt and pants templates use a different layout and do not show the complete face, hair, outfit, and shoes.
Can I upload a separate back view?
The current workflow accepts one image. It generates front and back character views from that reference. If the back of your outfit is important, describe its colors or pattern in the optional instructions, then review or edit the generated preview before making the skin.
Will my Roblox accessories transfer exactly?
Clothing colors, hair, and simple patterns can carry across as pixel art. Separate accessories, wings, pets, or custom body shapes need simplification because a standard Minecraft skin texture cannot transfer Roblox geometry. The preview and editor help you choose a version that still looks like your character.
Does it work with R6 and R15 avatars?
You can use a clear image of either avatar style. The converter interprets the rendered appearance; it does not import an R6 or R15 rig. The result uses Minecraft’s player proportions, so pose and body-shape differences are adapted to that model.
Can I edit the skin and change wide or slim arms?
Yes. Open the generated PNG in ImagineGo’s Minecraft Skin Editor to paint pixels, refine the outfit, and switch the arm model. Review the arm texture after switching, then download the edited PNG. Manual editing and export are free.
How many credits does the conversion use?
Creating the character preview uses 6 credits, each optional preview edit uses 6 credits, and generating the final skin uses 9 credits. A preview plus a skin is 15 credits without extra edits. New accounts receive 10 signup credits to try the preview; add credits to continue to the final skin. Your saved preview remains available.
Can I use the downloaded skin on Java or Bedrock?
Use the PNG in Java Edition or supported Bedrock custom-skin imports on Windows and mobile. Official PNG skin importing is unavailable on consoles. The original file uses Classic/Steve arms; match the arm model when importing.
Make It Yours with the Roblox Skin to Minecraft Skin Converter
Bring the colors, hairstyle, and outfit you already love into your next Minecraft world. Upload your avatar, choose a design, and make a skin you can download and refine.
Convert my Roblox avatar ↗